Access external data
- Tutorial
- 4-min read
In this section, we'll do the following:
- Create an app function that accesses external status history data
- Show the status history data on another page
1. Create app function
First, execute the following command in the project's root directory:
npx dt-app function create get-status-history
You'll notice that the App Toolkit creates a file named get-status-history.function.ts in the api directory within your root project directory and prints information about the newly created function.
2. Fetch status history data
The external status history API is available at https://dt-url.net/status-history and returns something like this:
[
  {
    "status": "disruption",
    "title": "Tenants in Azure clusters 6 and 7 inaccessible",
    "date": "2023-11-26T23:36:00.000Z",
    "active": true
  },
  {
    "status": "partial-disruption",
    "title": "Potential interruption of monitoring of services",
    "date": "2023-11-15T18:06:00.000Z",
    "active": true
  },
  {
    "status": "operational",
    "title": "Unable to Access Certain Tenants",
    "date": "2023-11-08T19:15:00.000Z",
    "active": false
  }
]
Using the fetch API, we can fetch the status history within our app function. We'll use the payload argument of the app function to define filters. In this case, it will only indicate whether the incident is still active. Adapt the payload type and the app function's code to allow filtering. Finally, enrich the API's response with color and description fields to use them in the UI as follows:
const statusMap = {
  'disruption': {
    color: 'critical',
    description: 'Service disruption',
  },
  'partial-disruption': {
    color: 'warning',
    description: 'Partial service disruption',
  },
  'operational': {
    color: 'success',
    description: 'Operational',
  },
} as const;

type HistoryItem = {
  status: keyof typeof statusMap;
  active: boolean;
};

export default async function (payload?: { active: boolean }) {
  const res = await fetch('https://dt-url.net/status-history');
  let history = (await res.json()) as HistoryItem[];

  if (payload) {
    history = history.filter(({ active }) => active === payload.active);
  }

  return history.map((item) => ({
    ...item,
    color: statusMap[item.status].color,
    description: statusMap[item.status].description,
  }));
}
Every TypeScript file in the api directory is exposed as an app function via the relative URL /api/filename. Therefore, after restarting the development server, we can open http://localhost:3000/api/get-status-history to see the result of the app function.
You can restart the development server using the appropriate command for your operating system. For example, on Windows, press Ctrl + C in the terminal where the server is running. Then, run the npx dt-app dev command.
3. Create the feed page
To visualize the data from the status history API, create a new file ui/app/pages/StatusHistory.tsx with the following component:
import React from 'react';
import { Flex, TitleBar } from '@dynatrace/strato-components/layouts';

export const StatusHistory = () => {
  return (
    <Flex flexDirection="column" padding={32}>
      <TitleBar>
        <TitleBar.Title>Status history</TitleBar.Title>
      </TitleBar>
    </Flex>
  );
};
Next, adapt the App component to add a new route pointing to the StatusHistory page:
import React from 'react';
import { Link, Route, Routes } from 'react-router-dom';
import { AppHeader, Page } from '@dynatrace/strato-components/layouts';
import { HostList } from './pages/HostList';
import { StatusHistory } from './pages/StatusHistory';

export const App = () => {
  return (
    <Page>
      <Page.Header>
        <AppHeader>
          <AppHeader.Navigation>
            <AppHeader.Logo as={Link} to="/" />
            <AppHeader.NavigationItem as={Link} to="/status-history">
              Status History
            </AppHeader.NavigationItem>
          </AppHeader.Navigation>
        </AppHeader>
      </Page.Header>
      <Page.Main>
        <Routes>
          <Route path="/" element={<HostList />} />
          <Route path="/status-history" element={<StatusHistory />} />
        </Routes>
      </Page.Main>
    </Page>
  );
};
With the new page in place, we can now use the app function within it.
In the StatusHistory component, call the useAppFunction hook from the @dynatrace-sdk/react-hooks package. We must provide the app function's name and payload as the first argument and a type argument, which we'll call StatusItem. Next, add the loading indicator and iterate over the data to visualize its contents using a few other components from the Strato Design System as follows:
import React from 'react';

import {
  Flex,
  Container,
  TitleBar,
} from '@dynatrace/strato-components/layouts';
import { ProgressCircle } from '@dynatrace/strato-components/content';
import { Heading } from '@dynatrace/strato-components/typography';
import { Chip, ChipOwnProps } from '@dynatrace/strato-components/content';
import { useAppFunction } from '@dynatrace-sdk/react-hooks';

interface StatusItem {
  title: string;
  color: ChipOwnProps['color'];
  description: string;
  date: string;
}

export const StatusHistory = () => {
  const result = useAppFunction<StatusItem[]>({
    name: 'get-status-history',
    data: { active: true },
  });

  return (
    <Flex flexDirection="column" padding={32}>
      <TitleBar>
        <TitleBar.Title>Status history</TitleBar.Title>
      </TitleBar>
      {result.isLoading && <ProgressCircle />}
      {result.data && (
        <Flex flexDirection="column" gap={16}>
          {result.data.map(({ title, color, description, date }) => (
            <Container key={date}>
              <Flex flexDirection="column" gap={8}>
                <Chip color={color}>{description}</Chip>
                <Heading level={5}>{title}</Heading>
                <Chip size="condensed">{new Date(date).toUTCString()}</Chip>
              </Flex>
            </Container>
          ))}
        </Flex>
      )}
    </Flex>
  );
};
That's it. You now know how to access an external API, customize the result, and use it in the UI. At this point, the app should look like this:
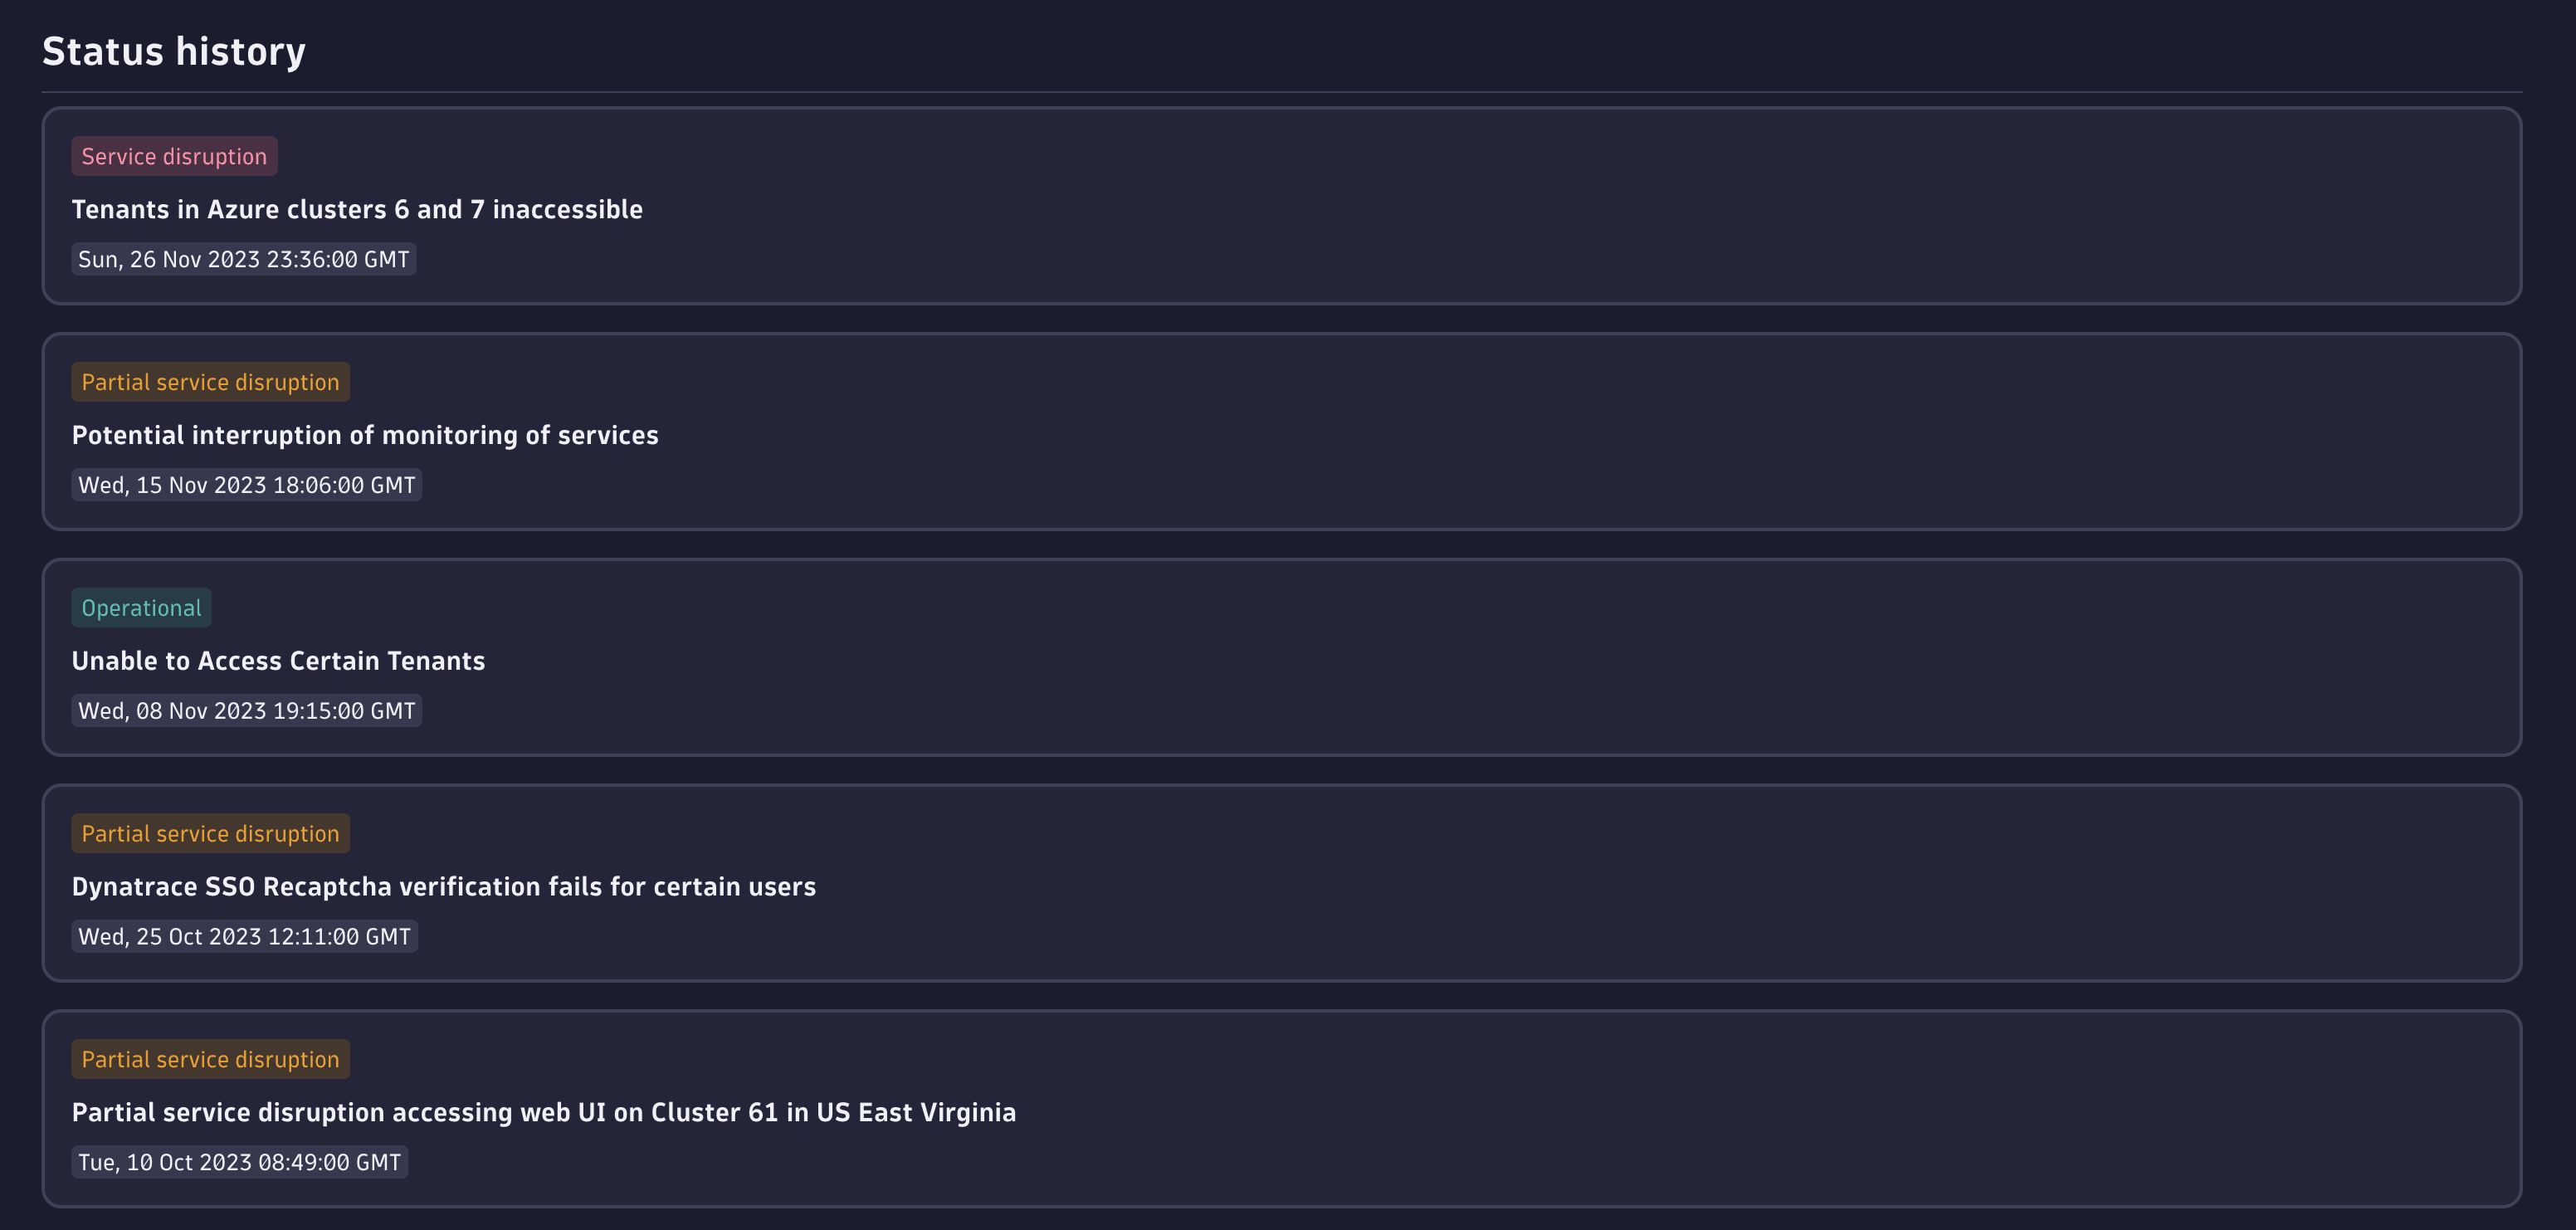
Congratulations on your first Dynatrace app. We're happy to have you on board.